Top Tips for You-How to Restore Mac Lost Files in Easy Way
 Have ever deleted or lost some documents or videos, images, text or etc from your MacBook, SD card, USB, mobile and etc.? Then, several days later, you realized that some of these files are of great use. You may regret and got frustrated about the sloppy file deletion or wrong hard drive format. The same thing happens every day here and there. Worry is meaningless, so let’s see how you can perform document recovery on Mac or other files rescue from your Mac in simple way.
Helpful Tips to Prevent Data Loss
1. Check files in Mac Trash bin.
2. Every time before you delete files, please double check them to ensure these highlighted files are no longer useful for both yourself and your families. When you decide to empty the Mac trash, please carefully check whether there are some important or valuable files in trash. Before you empty recycle bin, you still have a chance to undelete these files.
3. Regularly backup useful data
Before you start to format a hard drive, delete a partition, re-install Mac operating system and etc., please double check your hard drive and system disk to see whether there are important information storing on it. For data security, the most sensible way is backing up files before partition, format and system re installation.
Once in a while, you may emptied trash and formatted hard drive by accident without check or backup. In case like this, you will have no way but to draw support from some third-party data recovery applications to solve the problem “how to recover lost files Mac”, such as uFlysoft Data Recovery for Mac.
Easy Steps to Recover Files on Mac
As I tried, the uFlysoft data recovery software for Mac can recover many files, such as doc, PPT, text, PDF, Excel, e-mail, video, audio, images and more file types from MacBook, external hard drives, mobiles, memory device, camera, iOS devices and many more. It requires 4 steps to recover any lost or formatted files on Mac by using it:
1. Select media type where you lost files.
2. Select a partition or device to recover data from. Then, choose the “Scan” option to start the deeply scan.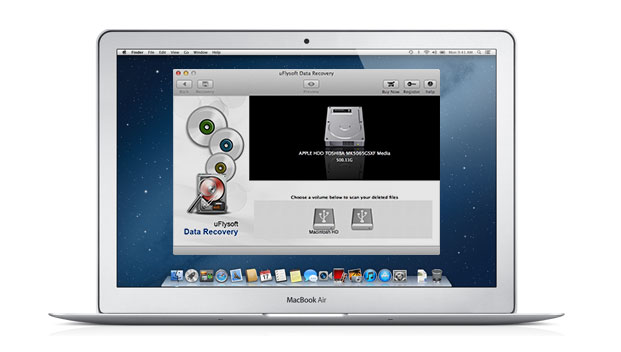
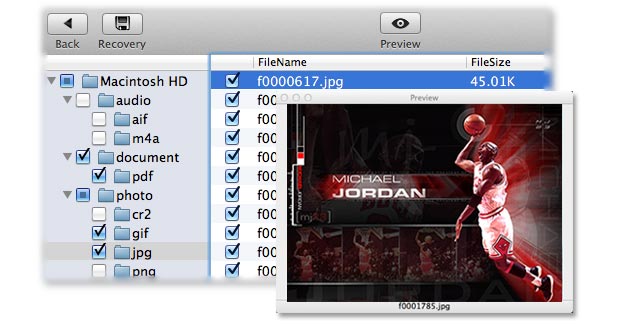
3. Scan files from selected hard drive or device.
4. Preview and restore the selected file. (Only photo files can be previewed.)
What’s next? Just remember to build a backup for the recovered data so that you will not lose them again.
More information still be needed? No problem, click here to get another post our blog offers then you can find what you want.

When to Use the Best Data Recovery for Mac?

4 FILE RECOVERY TIPS FOR MAC
How uFlysoft Data Recovery Software Helps You
About Author
steven
10 years of file recovery experience makes Steven, the professional expert helps our users to handle the data rescue process easily. And he also write lots of technical support articles for the readers to follow to get the tips to recover their files in simple ways.
Add a Comment
You must be logged in to post a comment.