Get Back Deleted Photo Files from Mac Easily
It eventually happens to everyone-you lost files on your Mac. Mac has truly become personal-we store photos, email, homework, recipes, and important documents and apps on it. Losing an important file can cause a lot of problems from lost time, to lost valuable information. Many people wonder how they lose files to begin with and want find a good way to s get back deleted files. Today we use photo files as an example to show to how to get back deleted photo with ease.

Situations Need Undelete Software
Below are a few scenarios when you may require undelete files from your Mac system.
●Unintentionally emptied the trash containing some important files, documents, photos, etc.
●File loss due to formatting or resizing your Mac volumes.
●Formatted your corrupt or inaccessible iPod, pen drive, external hard drive etc. to get them back to working.
●Intentional file deletion from a commonly shared storage
●File loss due to deadly virus and malware
A Good Way to Recover Lost Data
Here I propose you to choose uFlysoft Photo Recovery for Mac. It is the most powerful and user-friendly photo recovery software for Mac users. It can recover lost photo from deleted, corrupted, formatted partitions and from crashed drives under Mac system. Mac Photo Recovery Software may recover files from HFS, HFSX, HFS+ partitions, including all types of photo files such as GIF, JPG, PNG, etc.
What you need to do is just install the software on your Mac, then start the file recovery process. After the software automatically scanned the data in the hard drive, you can choose the file you want to recover. Then the lost date will return in your Mac. Even novice users can handle it very quickly. Below are few steps to follow:
First of all, install the application on your computer. (Worry about the fee? No need to do so.uFlysoft Photo Recovery for Mac is free download/free scans application.)
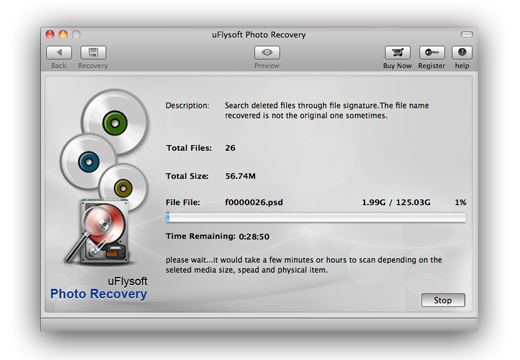
Secondly, start scanning where the lost files were stored before after launching the program.
The last but not least, after scanning finished, click "Recover" and choose the path where you want to store the lost data.
All of these just cost you a few minutes, after that you will be able to get back deleted files on Mac successfully.
Tips
1. Do not store the recovered data in the path where you lost them before or you will not be able to get them back again.
2. If you are a Windows user, have a try on uFlysoft Photo Recovery for Win, a high reputation recovery application which helps you to recover your lost photo/audio/video files on your Windows PC in a short time!