Easy Solution for Mac Users to Recover Deleted or Lost Folder on Mac
 Generally, it’s very easy for Mac users to undo an operation to back to the previous status, or to restore folders from Trash Bin. However, when it comes to the folders deleted permanently, you can’t see them again on the computer and there is no shortcut key for you to recover. Then what should you do? Only a sign left? Of course not, actually there is such a chance for you to recover deleted or lost folders on Mac.
Is it Possible to Recover Deleted Folder?
Definitely YES! When you delete files or folders from your computer or other devices, the files or folders are not gone forever. Only you can’t see them and they are inaccessible, but they indeed exist. The space occupied by the deleted files or folders are just marked as reusable for new data. They are not really gone until the new files come in to overwrite them. If you don’t save new files to the disk where you lost your files or folders, there is 100% successful chance to recover folder or files.
So this is very IMPORTANT: Stop putting any data to your drive containing your lost data to keep it original, which can make you a higher rate of success to do folder recovery.
What can Folder Recovery Do?
With the help of folder recovery software, you can recover your important documents or files lost for your accidental deletion, such as:
1. Recover folders or files lost by emptying the Trash Bin
![]()
2. Recover data deleted using the command prompt
3. Undelete folders or files lost like Word, Excel, PPT, etc due to other reasons as virus infection, disk corrupted or inaccessible, power failure, and more
4. Undelete data including photos, videos, audio files, and other documents
5. Undelete folder lost from computer, external hard disk, USB drive, iPod, mobile phone, camera, camcorder, and more
How to Recover Deleted Folder in Easy Steps?
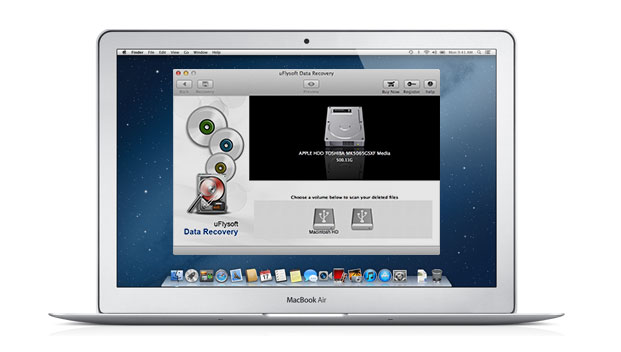
uFlysoft Data Recovery for Mac can do all mentioned above for you, and 100% guaranteed safe. You can try the free trial version below to scan your lost files before you pay for it.
Step1. Install and launch the application on your Mac
This must pay attention: Don’t intsall this application on the path which your lost files were stored before to avoid data overwritten situation.
Step2. Select the location for scan
Select a location where you lost your files to scan. It can be a partition, a folder or the whole computer, and the deep scan mode in the software can increase the recovery success.
Step3. Preview and recover
The deep scan will take you a bit more time. When it competes, all the recoverable files are classified into different types and you can preview them one by one to find your desired files. If there are too many files, you can check it by the file path by switch the “File Type” to the “Path”. Then check the file and click to “Recover”.
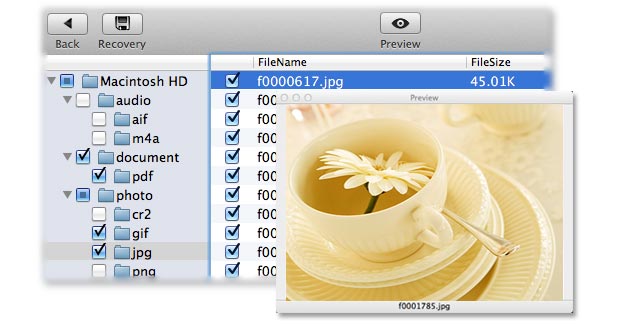
Note: Don’t save the recovered data on the original place again. Find another partition or other external disk for it, for safety consideration.

Excel Recovery Made Easy
Spreadsheet Solution – Getting Your Excel File Back
Rescue Mac Lost Data with the Most Simple Way
About Author
steven
10 years of file recovery experience makes Steven, the professional expert helps our users to handle the data rescue process easily. And he also write lots of technical support articles for the readers to follow to get the tips to recover their files in simple ways.